Ridge Cap Replacement Services for Property Owners
Visitors will learn about how local contractors handle ridge cap replacement services and can compare options to find suitable providers.
- - Residential homeowners seeking to replace ridge caps on their houses to improve roof durability and appearance.
- - Commercial property managers needing reliable local contractors for ridge cap replacement on business buildings.
- - Property owners with aging or damaged roofs looking to connect with experienced service providers in their area.
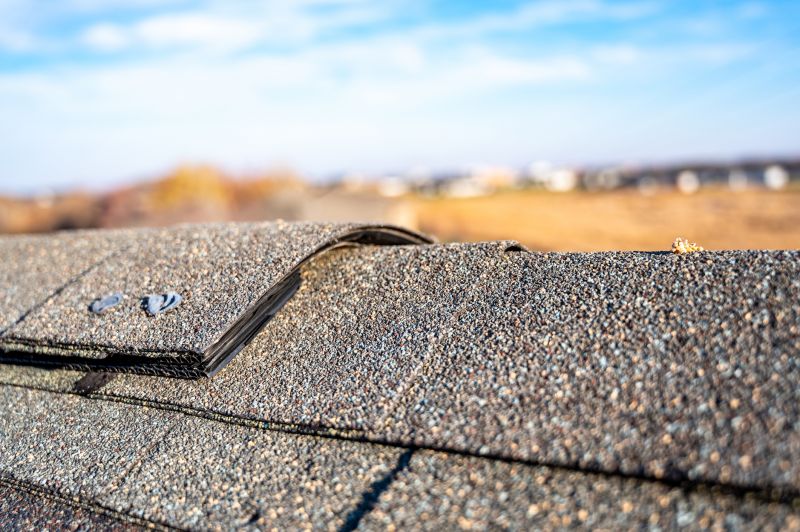
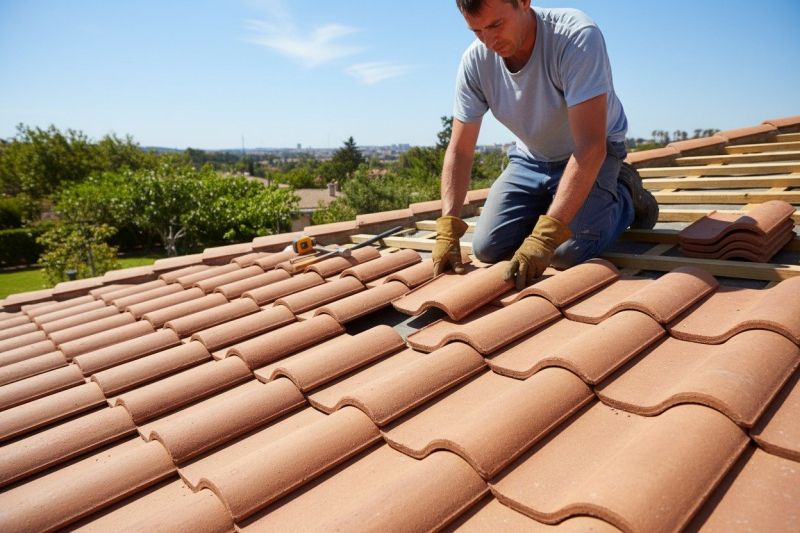
Ridge cap replacement is a key component of maintaining a roof’s integrity and preventing water intrusion. When ridge caps become damaged, cracked, or worn, they can compromise the overall protection of a property. Local contractors specializing in roof repairs and replacements are equipped to assess the condition of existing ridge caps and perform the necessary work to restore proper sealing and function. Property owners often seek out these services when experiencing leaks, roof damage, or signs of aging along the roof’s peak.
Connecting with experienced service providers ensures that ridge cap replacement is handled efficiently and effectively. These local pros bring knowledge of roofing materials and techniques suited to different types of roofs and structures. They typically handle the removal of old or damaged ridge caps, preparation of the underlying roof, and installation of new components to help preserve the roof’s durability. Property owners can expect straightforward, practical assistance from local contractors dedicated to addressing ridge cap needs as part of their overall roof maintenance and repair efforts.
This guide provides helpful information to understand the process of Ridge Cap Replacement and what to consider when planning a project. It assists in comparing local contractors and service providers to find the right fit for specific needs. The content aims to prepare homeowners with the basics needed to connect with experienced professionals in their area.